Step 5 – Design Website (Install WordPress Theme)
What is a WordPress Theme?
A WordPress theme is the shell that you install on top of WordPress that makes it look like any other website. The theme controls the visual layout, style, look and feel of the website.
Although it sounds complicated, installing and configuring most WordPress themes is actually very easy. Not only that, but you can easily switch from one theme to another if you want to change the look of your website.
Thousands of WordPress Themes are available, many are free to download and use. Although in most cases the best ones you generally have to pay for. Prices can range from a few bucks to very expensive if you choose to hire a designer to create a completely unique theme for your business.
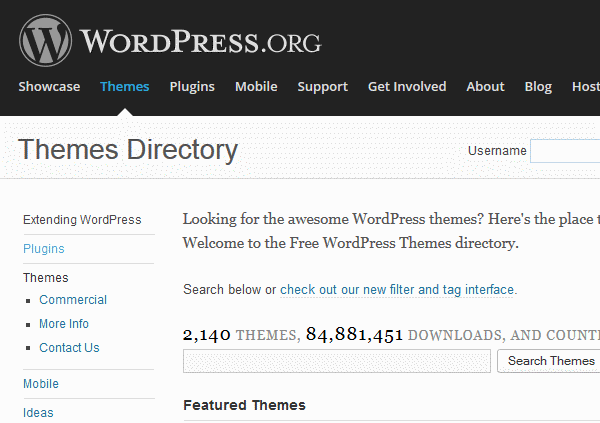
The best place to start your search for themes is WordPress.org. Also, there is a link below this video. This Google search will take you to some of the best FREE WordPress themes.
The WordPress theme we will use today is called “Responsive Free“, a free theme from cyberchimps.com.
Click to preview the theme. Now let’s begin the download and install process.
Steps to Install Theme
- Download theme – Download the theme and save it to either your download folder or a desired location. I normally download the file and move it to a staging folder, but you don’t have to do that.
- Upload theme to WordPress – Next upload the zipped theme file to your WordPress by navigating to “Themes” then the “Manage Themes” area on the sidebar. This area is where any theme that has been uploaded will be. Next, Click the “Install Themes” tab, then click the upload link, click on the “Browse” button and select the “Responsive Free” theme that you downloaded earlier. Next click the “Install Now” button and the upload process will begin.
- Configure theme options – When you install the “Responsive Free” theme for the first time the custom home page will be activated. If you want to change this, you need go to the “Theme Options” section, which is under the “Home Page” options. The custom home page is activated, If you see the box checked.
Install the “Responsive Add-Ons”, this plugin will provide additional functionality to the theme. These add-ons will give you the ability to track the performance of your website by gathering metrics from Google and other search engines. Note: This is probably not a big deal right now, but in the future there may be other features that may become part of the add-ons pack, also CyberChimps highly recommends that you install this plugin, so go ahead and install it.
To install the add-ons, click on the “Begin installing plugin” link. After clicking on the install plugin link, you will be taken to the plugin location, just click on the “Install” link below the plugin name. The plugin will be installed and the last thing to do is activate it.
Set Theme Options
- Theme Elements – No change for now
- Logo Upload – No change for now
- Home Page – Add Text for Headline, Sub-headline, Content Area and Call to Action. Note: See CyberChimps instructions for more details
- Default Layouts – No change for now
- Social Icons – Enter any social media URLs that you might have.
- CSS Styles – No change for now.
- Scripts – No change for now.
- Webmaster Tools – Installed as add on. No change for now.
- Header – Remove the original header image.
Create Pages for Website
You will need to create the following pages for your website:
- About page
- Service pages – In the video we create three for each widget on the home page
- Contact page
I encourage you to view my video on “How to Create a Page in WordPress” for more details.
Add Your Services Links to the Home Page Widgets
Now we are going to add our three service pages to the home page widgets. We do this by:
- Click on “Appearance” Menu on the sidebar, then select “Widgets”
- Scroll down to the right of the “Widgets” page and find the “Custom Home Page” Widgets 1-3.
- Drag a “Text” widget into each of the home page widgets
- Add your text and HTML coding to the “Text” widgets (see video #5 for HTML coding)
Add Your New Pages to Navigation
The last thing you need to do is add your newly created pages to the navigation menu.
- Click on “Appearance” on the sidebar, then select “Menus”
- Create a new menu name and call it “Nav-1″, click the “Create menu” button.
- Click on the “Pages” drop down and select the newly created menu
- Now select the pages that we need for our navigation menu.
Congrats You Have Built a Website!
You have taken all of the steps needed to build a website of your own, Good Job!
